
Since I saw Josh and Maris today (for some
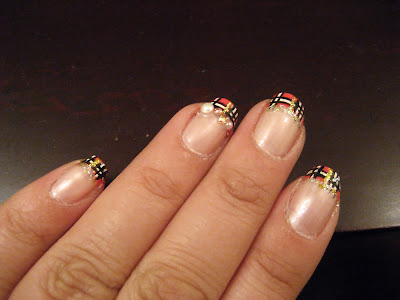
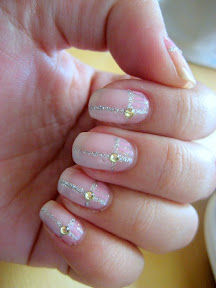
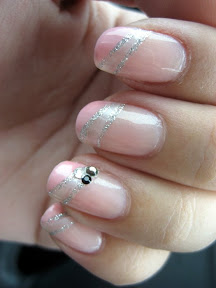
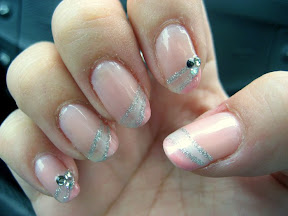
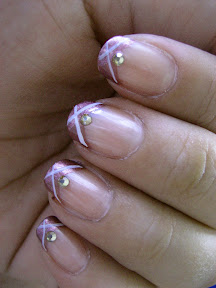
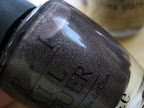
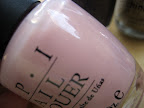
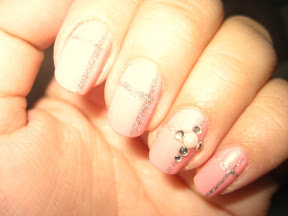
decoden fun!) I decided I'm going to be a rebel and post WAY out of order. These are the nails I did for their wedding which I attended on a TUESDAY down in the OC (June 30, 2009). haha~ It was going to be a fun wedding, so I wanted to make fun nails. But of course they'd have to be sophisticated since it was a wedding n all ^_^ I wasn't sure if black would be scary for the wedding.. but I went with it anyway and I thought it actually turned out great. I'm not a fan of ALL black just yet, but I'm okay with the tips ^_^ I like OPI's I Only Drink Champagne b/c it's a really soft but pretty pearly shade of cream. It's one of my more.. neutral and "mature" colors. lol.


♥
duration: 45 mins (15 mins for touch up the night before the wedding)
♥
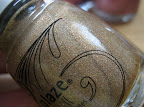
notes: ▪ I cut the lace in half the long way (which I purchased from
Orange Lighthouse). That's just the bottom half with the draped part.
▪ Dark colors are difficult with tips b/c the tips of your nails are the first to chip so it looks really obvious when a black part chips off. -_-
▪ Also, dunno if you'll notice that my index fingers might have some orange-y stains in the detailed pictures.. I went to a crawdad place for dinner the night I arrived in Irvine with friends I stayed with.. as a result, my skin was a tad bit stained. >.<
▪ This set matched the ring my dragi gave me. (*´▽`*)
♥
colors/steps: 
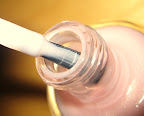
▪ Orly Bonder base coat
▪ 2 coats of OPI's I Only Drink Champagne
▪ Orly's Liquid Vinyl for the tips
▪ Measured (roughly), applied, & trimmed
PA Collective Nail Stickers in black lace. I trimmed the lace with nail clippers b/c i can get closer to the edge of my nails than with scissors.
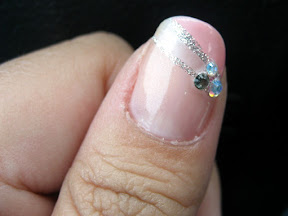
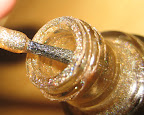
▪ Applied a thin layer of Orly Bonder as a tacky glue for the gems following the line of lace.
▪ Set a row of
5ss Crystal AB Swarovski rhinestones on each of my ring fingers after applying Orly Bonder
▪ 1 coat of Orly's Won't Chip (before I had Seche Vite... also a note about Orly's Won't Chip.. it makes lots of bubbles when being applied-esp around anything raised like gems and stickers so I stopped using it).
Hoorah~ 2nd post down.. 30 something more to go. lol. ( ̄□ ̄;)
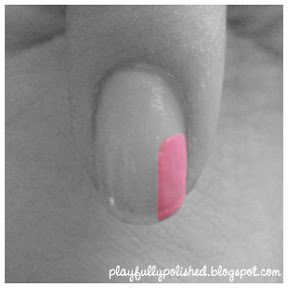
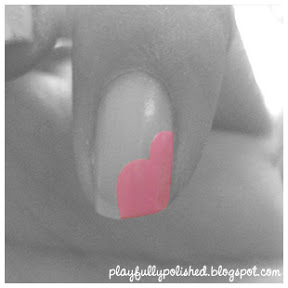
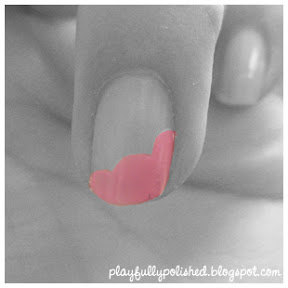
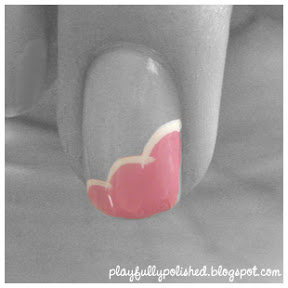
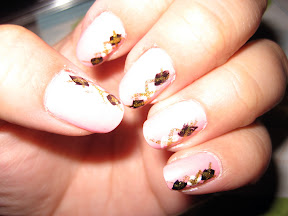
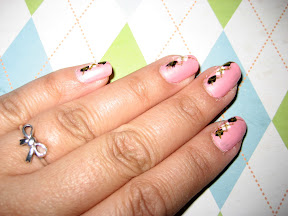
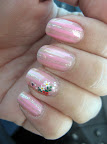
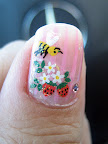
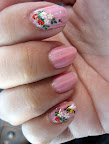
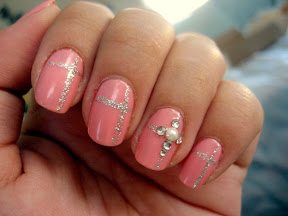
 Inspired by Nail Up Magazine. I like this one a lot and I often got a lot of compliments on how cute it was. I should try one like this again...


