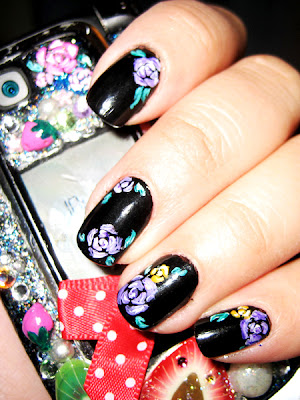
 I remember that when Nino was here back in December, he glanced at my nail magazine while I was going through it and he mentioned that he liked the dark nail style (black with red roses and gold chains motif). But he said he knew it probably wasn't something I'd normally wear. I guess I got my cue from that.. and b/c I was on a flower binge apparently with the last few sets I did, I chose to paint roses. but I went DARK. Black to be exact. I rarely paint my entire nail black (except for halloween 2009). But I went for it. And at first I thought "OH GEEz.. WAAAY TOO BLACK" but then as soon as I started painted the purple roses... I fell in love. lol. That doesn't mean I'll be doing black regularly. Like Nino said.. It's not really my style. But I'd told Joni that I wanted to do purple roses on black polish so I got stuck on the idea. And I titled this entry "moody roses" because I kept having this feeling that the black polish made me feel moody... but I got a lot of compliments on it. In any case, I only kept this set on for 4 days. lol.
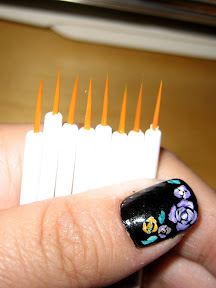
 ♥ notes: This was the 3rd time I was able to use the tiny brushes I'd bought from Daiso
♥ duration: 40 mins (2 episodes of Nodame Cantabile)
♥ colors/steps for polish:
▪ Orly Bonder base coat
▪ black polish - Orly Liquid Vinyl (2 coats)
▪ Seche Vite
 ♥ colors/steps for flowers:
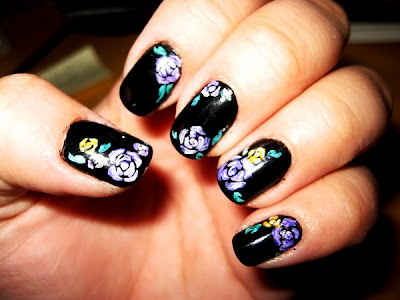
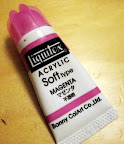
▪ dark purple and white acrylic craft paint was used.
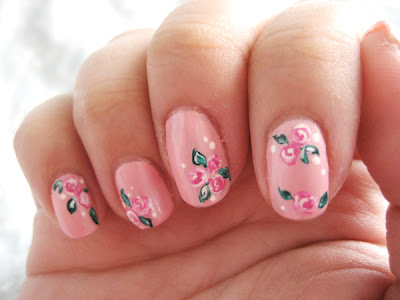
▪ start with dipping the tiny brush (set of 8 for $1.50 from Daiso!) into the purple paint (just a bit) then a tad in the white paint. so the brush should have both colors on it already. then I painted in a pattern like these nail seals.
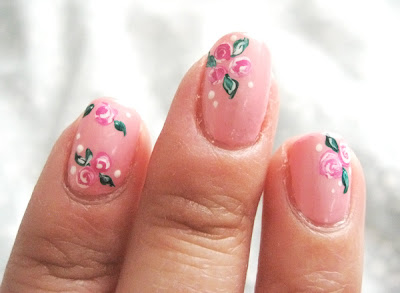
▪ I did the same paint dip trick for the green leaves. I didn't want the flowers so dark, that they'd be difficult to see.
▪ I was tempted to add silver or glitter on them but after giving a bit of glitter to one of the roses on my pinky, I decided against it. I thought it looked so nice as plain art.

