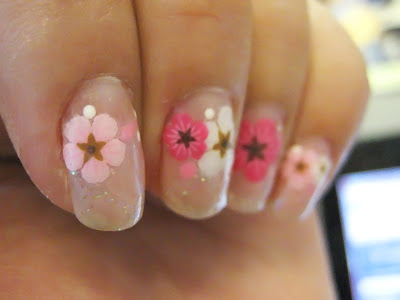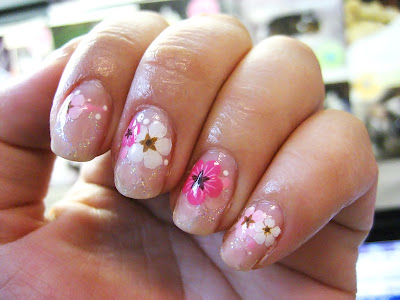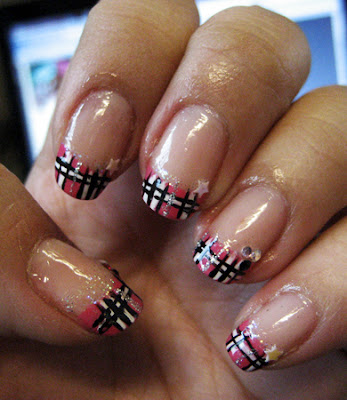
A variation of Coral Plaid but with OPI's DC Cherry Blossom.
I still like this one a lot and get a lot of compliments on it.
I think my hand is pretty steady, but if you take your time, the lines will look fine. It doesn't have to be perfect.
And despite how busy the pattern seems, I didn't feel like it necessarily clashed with the things I was wearing.
This one lasted decently long. I wore it for a full week before changing it and wasn't that it was chipping either... I just wanted to change it up. ^_^
♥ duration: 40 mins
♥ colors/steps:
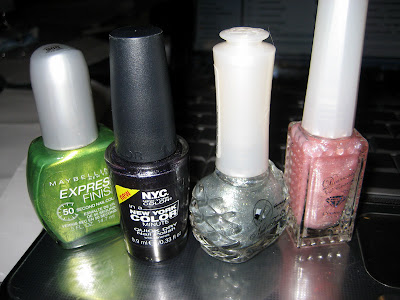
▪ Orly Bonder
▪ base color: Orly ... forgot what it's called. I'll check it later. Something neutral.
▪ tip color: OPI's DC Cherry Blossom
▪ Art Club's black striper first
▪ Art Club's white striper 2nd
▪ Kiss silver glitter striper vertically placed somewhere in between the spaced white lines
▪ Art Club's irridescent glitter striper under the french manicure tip.
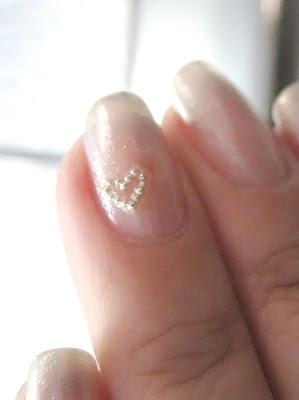
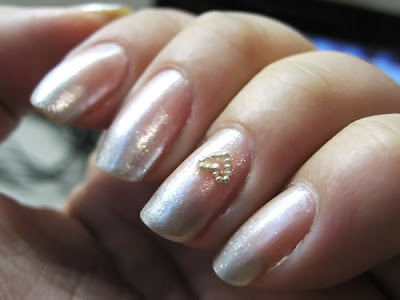
▪ Corner accents: tiny plastic stars, randomly picked sets of 3 swarovski crystals (fuchsia, lt rose, rose, crystal ab, jet, crystal moonlight)
▪ top coat: Seche Vite